Map the visible layers
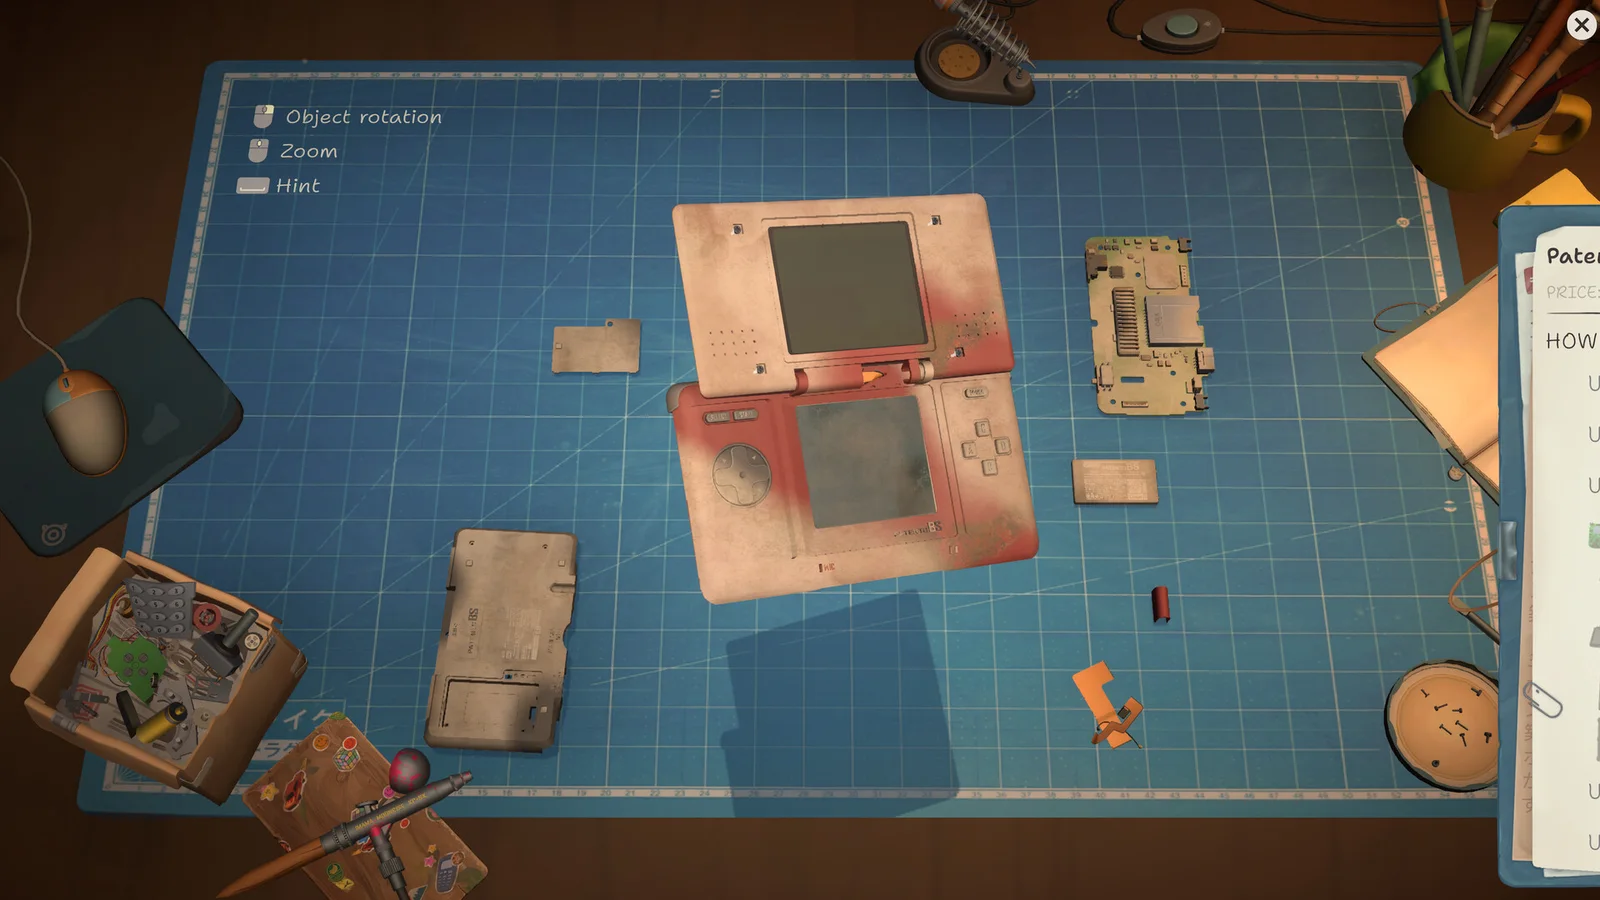
Official store captures show devices built from cases, boards, batteries, controls, screens, and smaller connected parts. The safest route is outside to inside, one layer at a time.
Rotate and zoom before selecting a tool. If a part refuses to move, look for a hidden fastener or connected piece rather than repeating the same action.
Keep a return path
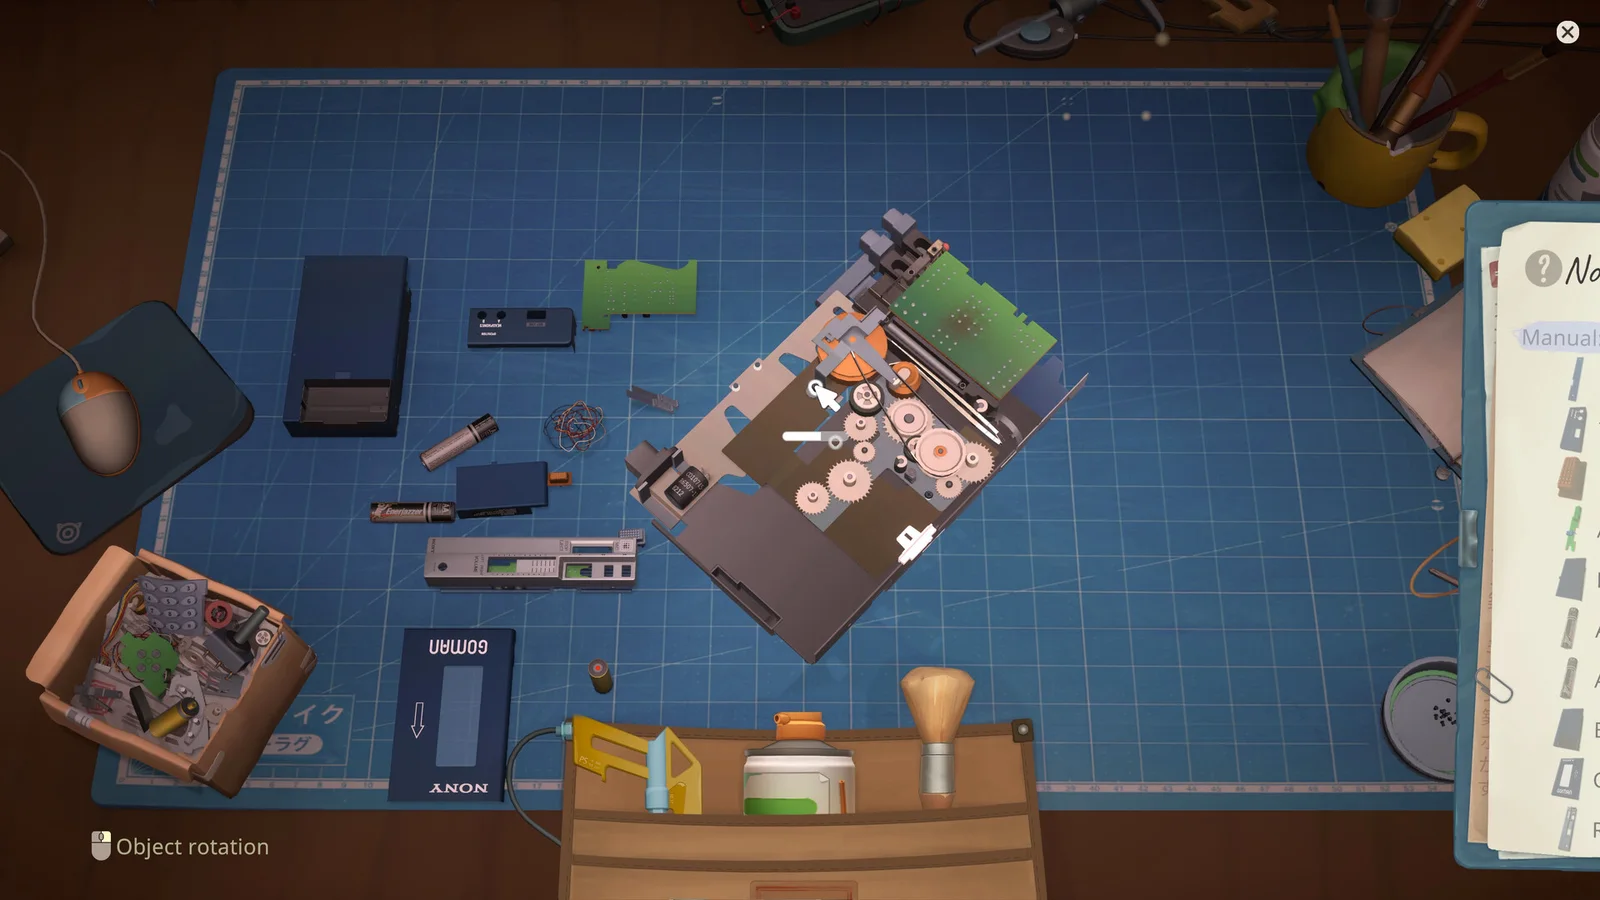
Use the bench layout as a memory aid. Place removed groups consistently and avoid mixing old replacement parts with components that must go back into the device.
When the game highlights an attachment point or removal step, finish that relationship before starting another section.
- Photograph or memorize the closed device.
- Remove outer fasteners.
- Separate the cover.
- Disconnect attached parts.
- Group removed pieces by layer.
Reassemble in reverse
Begin with the last internal part removed and work outward. Check alignment before tightening or closing a case.
If the final checklist stalls, compare the current shape with the opening view and inspect the most recent layer first. The missing step is usually closer than a complete second teardown.
Sources
Official ReStory Steam store page →